
Cleaning a turkey has become an easy job.
You might be wondering what important steps are present on how to clean a turkey, here you can know about it.
This job demands only practice, only then you can become a pro in cleaning Turkey.
Furthermore, this is a fun job to do if you get immense hands-on practice. Turkey meat is incredible and magically delicious.
Moreover, people love to salvage and devour their thighs, legs, and also breast.
So, if you have got a turkey game in your hands, then check out this guide that tells you how to clean a turkey.
Step #1: Cleaning a Store-Bought Turkey:
Thaw Your Turkey:
First of all, you have to thaw your turkey before you plan and decide to clean it. This is the very first step linked to how to clean a turkey.
What you can do is to keep your turkey in the refrigerator for a few of the days.
In addition, the other alternative for you is to completely and wholly submerge your turkey in cold water.
The third option is to keep it in a microwave and store it on the defrost setting mode.
If you are keeping it in the microwave, then make sure to properly wrap your turkey.
Wash your hands before you clean a store-bought turkey:
The next step is to wash your hands properly and thoroughly before you get your hands on a store-bought turkey.
Most noteworthy, wash your hands for at least 20 seconds so that none of the single germs get transferred on your turkey.
This is an important step linked to how to clean a turkey.
After washing your hands, simply pull back your hair and start to roll up your sleeves because you are about to get enter in the next serious step of cleaning a turkey.
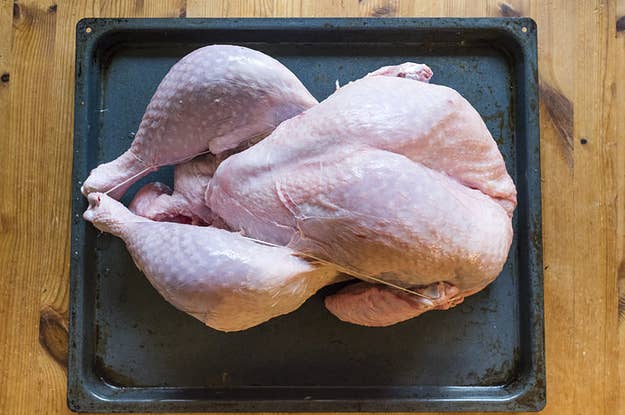
Place your store-bought turkey in a baking dish:
Take a baking dish and place your store-bought turkey over there. You need to carefully and keenly cut down that packaging.
Once you remove the packaging, then throw that wrapper in the dustbin. Besides, your baking dish has to be clean enough.
Remember that none of the other food residue, juices, or foodstuff should come in contact and touch with your turkey.
This is how to clean a turkey, your Turkey meat should only make its contact with the stuffing.
Draw neck and giblets out from your Turkey:
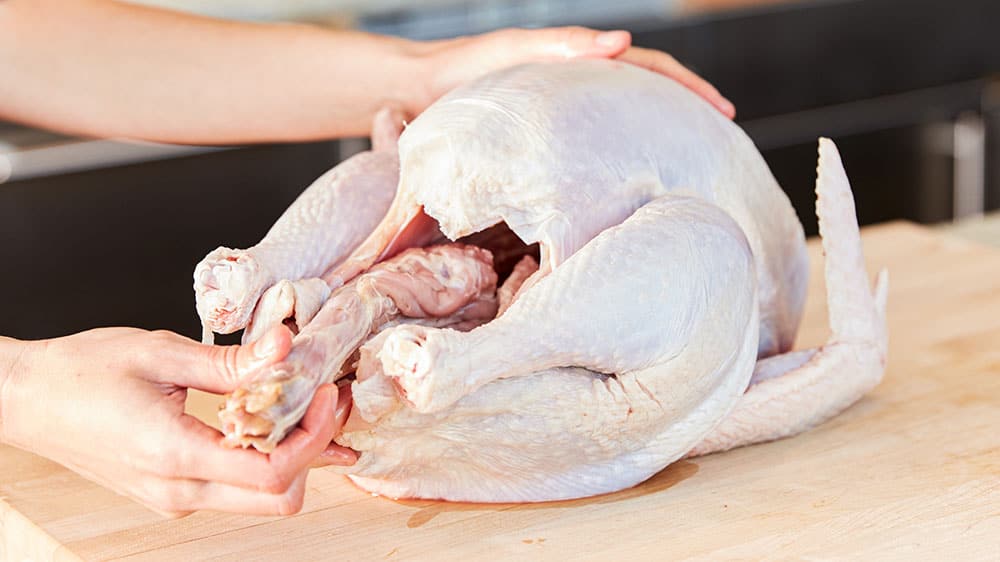
Now, the cook has to carefully remove and draw the neck and also giblets of his turkey. Both of them are present inside the turkey.
Most certainly, you are going to find them right there in its body’s cavity. So, carefully remove them!
The inside portion of your turkey should be hollow. A large number of individuals prefer cooking neck and giblets and some like to toss them away.
Hence, the choice is up to you! We are sure now you are getting a rough idea on how to clean a turkey, below we have more details for you.
Rinse your turkey once remove neck and giblets:
Once you are done with the job of removing neck and giblets, the next step is to properly rinse the inside cavity of your Turkey.
This is how to clean a turkey! You can clean this section by taking warm soapy water and then fill that cavity with cold water.
Furthermore, start draining cold water from turkey and allow it to set on your roasting pan. Moreover, there is no need to rinse the outside section of your turkey.
Step #2: Plucking and Cleaning a Wild Turkey:
Pluck your wild turkey feathers:
Regarding this section of plucking and also cleaning a wild turkey, this guide on how to clean a turkey is going to help you greatly.
The cook has to pluck his wild turkey feathers if he wishes to deep-fry it or he desires to roast it.
In addition, this is a time-taking process as compared to the step of skinning a wild turkey.
But this is an important step if you feel like smoking and roasting turkey. This technique manages to retain your turkey’s moisture and helps you in preparing a delicious meal.
Just to remember this critical point that plucking a wild turkey is a tough and messy job to do so remain careful and patient.
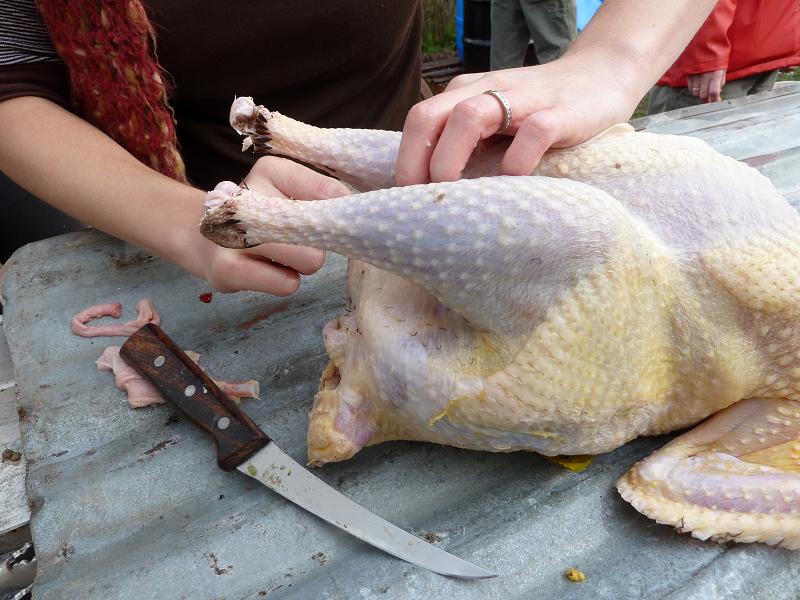
Remove the wings, head, and neck of the turkey:
Right after the plucking step, you need to remove the wings, head, and also neck of your wild turkey. Most probably, to proceed with this step, you can take the help of a sharp and strong knife.
However, Turkey's wings are edible but they are not packed and surrounded by enough meat.
So, it is better to cut them. Besides, plucking their wings is a tough and difficult job to do.
It is for all these reasons you should cut down their wings. Now, you know how to clean a turkey, now the next step is to toss your turkey in a large hot pot filled with water.
Submerge your wild turkey in a hot water pot:

According to the experts, the next step is to take a large in size pot and fill it up with hot water.
In this hot water pot, you need to submerge your wild turkey wholly and properly.
This is the next major step on how to clean a turkey. Your hot water should show a temperature scale of 140 to 145 degrees F.
With this step, you can well loosen up the feathers of your wild turkey and your plucking job is going to become easy.
However, avoid using that much hot water, otherwise, the actual taste and texture of your turkey meat get destroyed.
To check the temperature of the water, you can take the help of a kitchen thermometer.
Simply submerge the turkey in that pot for about a time frame of 30 seconds and not more than that.
After that, take it out from the pot and start to pull out its feathers one by one.
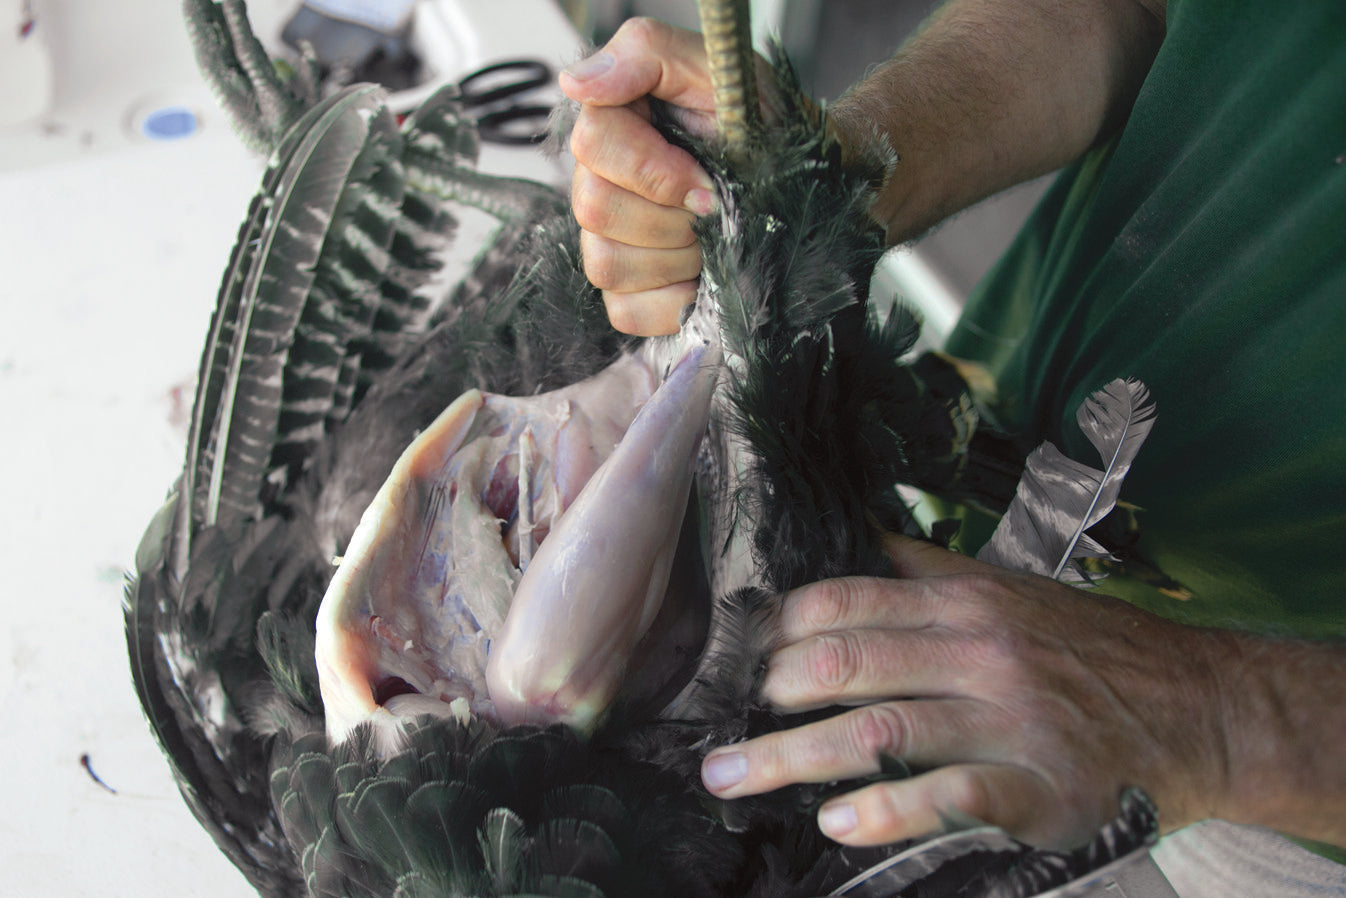
Hang the turkey and further pluck its feathers:
It is in the head-height position that you have to hang your wild turkey once you completely pluck its feathers.
For this hanging job, you can make use of a strong rope.
Furthermore, hang your turkey all in an upward position by the feet. Moreover, hang it over the hot water pot so that it further dip dry itself.
This is generally how to clean a turkey, and if you notice that some feathers are still left behind on your turkey and they cannot be plucked, then you can simply burn them away.
Also Read: How to Smoke Sausage in A Pellet Smoker?
Remove the entrails of your wild turkey:
As you are done with the tasks of plucking feathers, now the next step on how to clean a turkey, it is all about opening up the body cavity section of your wild turkey.
Take a knife and start to remove the entrails of it. Most importantly, wear gloves while you perform this step.
You have to draw and take out all of the lung section material that is attached to your turkey backbone.
Remove the legs of wild turkey:
Besides, remember that you have to carefully and professionally remove the legs of it. Once done with this removal job, take a baking dish and place your wild turkey on it.
If you feel like keeping the thighs as well as drumsticks, you can do so for sure.
On the other hand, avoid keeping the scrawnier leg part because it is not injected with that much meat content.
Now, we are going to move ourselves to one of the final steps on how to clean a turkey, so check out them.
Step #3: Skinning a Wild Turkey:
This job of skinning a wild turkey is an easy task to process and accomplishes. If you want to grill or fry it, then skinning your turkey is a must for you.
By doing so, you can grill and fry your turkey meat in different and separate pieces. So, let us jump on to further guidance on how to clean a turkey:
Hang it at your chest level for skinning:
Most noteworthy, you have to hang your turkey at a chest level of yours for processing this step of skinning. You need to use a strong rope in this step.
Tie your wild turkey in an upward position by both of its feet and start on with your job. It is recommended to attach and link this rope with a branch of a sturdy and strong tree.
Moreover, you have to tie their feet separately and individually. For more information, they have to be around and about 12 to 18 inches apart.
As a bonus tip for you on how to clean a turkey, just hang it at the chest-level of yours and you are good to go.
Remove beard, wings, and fan of turkey:
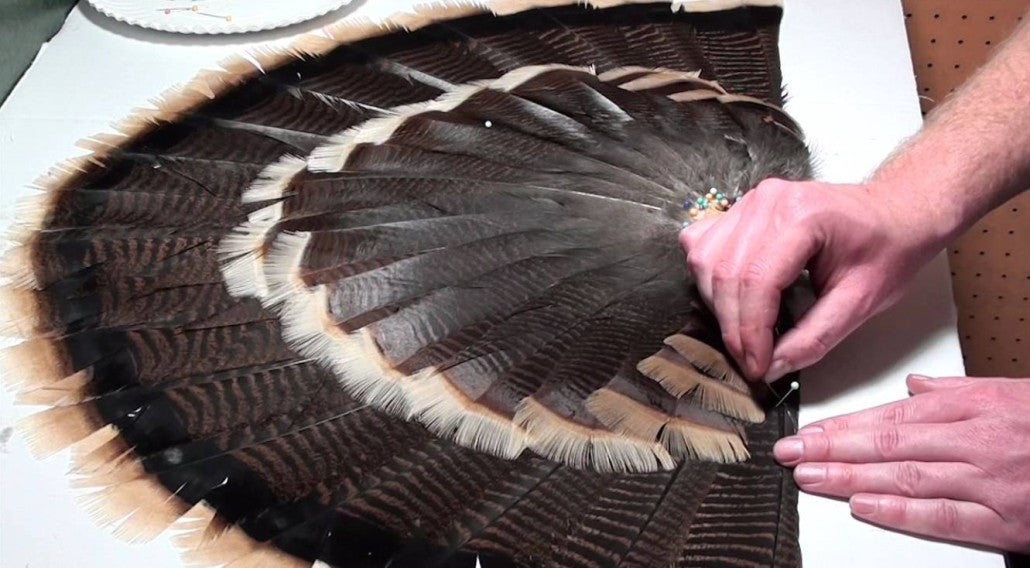
After hanging it, start to remove and carefully take off its fan, wings, and also a beard. This is a necessary step on how to clean a turkey.
It is suggested to grasp and hold its beard as much close as you can and then twist it, after that give it a firm and tough tug, and simply remove it from its breast section.
For removing its fan, you can cut its skin all and completely from the tail.
And for removing wings, you can cut them down right from the elbow section or take them off from the second joint of it.
Remove neck and start skinning the tail:
The next crucial step on how to clean a turkey, you have to start skinning the tail of your turkey. Apart from that, remove its neck as well.
Simply hold the tail skin and pull it in a completely downward direction. Keep on pulling this tail skin until and unless it reaches to the neck section of turkey.
Cut Turkey’s head:
To finish-off this skinning process, you need to cut off the head of the turkey. This is one of the final steps on how to clean a turkey.
Just take a sharp knife and cut off its head and also neck and complete the rest of the skinning job.
As a tip, you can cut its head and neck just 1 to 2 inches above where the neck is making a connection with the rest of the body.
Remove all of the insides of the turkey:
Before you toss your turkey on a baking pan, you have to remove all of the insides of it.
In other words, take out all its innards before you plan to cook or preserve it.
To carry out this step, open the body cavity of it and slowly remove its entrails with the help of a knife. Now, you know and fully understand how to clean a turkey and how to skin it.
Cook the whole turkey or grill separate pieces of it:
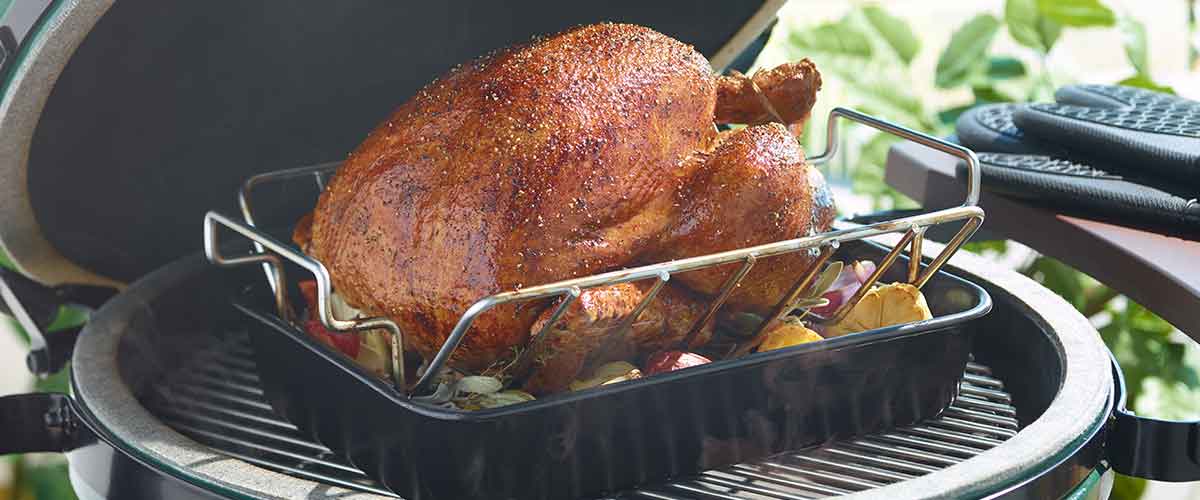
There are two choices for you! You can either cook the whole turkey or grill separate pieces of it.
Like, you can separate and keep aside breast fillets, legs, and thighs of turkey. We can give you a little bit idea on how to cut turkey all into different sections.
Firstly, you have to lay down the whole turkey right on its back. In addition, cut each side of its breastbone and wing section.
Loosen up the breast fillet with a knife and start cutting the thigh muscles to remove legs and thighs.
You can preserve these pieces at the same time by sealing each turkey section in a sealed plastic freezer bag.
Upon preserving these pieces correctly, you can use that turkey for up to 7 month’s time frame.
Hence, this is how to clean a turkey and for more tips on seasoning a turkey, keep tuned with us.
Conclusion:
So, what’s the bottom line? All important steps are mentioned that tell you how to clean a turkey, if you have more questions on this guide, freely ask from us.
You can share with us your experience if you have ever cleaned, skinned, and prepared a turkey.
Keep tuned with us as more tips on how to clean a turkey are arriving sooner.